Glass plate optical sorting machine
Nuts, rivets, washers, bushing, elastic rings
±0.01mm
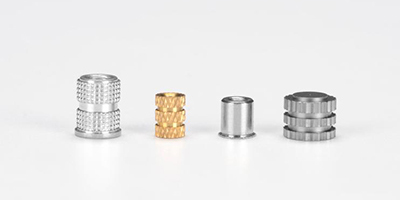
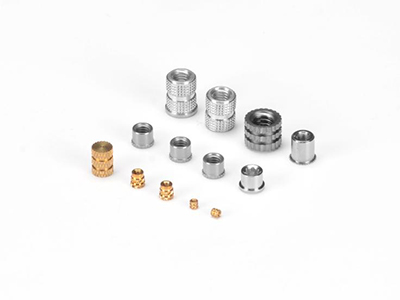
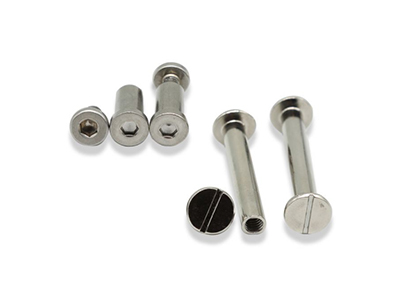
This inspection equipment is outfitted with four industrial CCD cameras. The CCD1 is a head-up camera used for inspecting the multi-segment height and outer diameter of the product. The CCD2 is a vertical bottom view camera used for inspecting the aperture and the burr of the product. The CCD3 is a vertical top view camera used for inspecting the opposite diagonal and angle of the product. It is also used to detect for chamfering. The CCD4 is a 45° tilt camera used to determine if the product has internal threads.
 CCD1, head-up
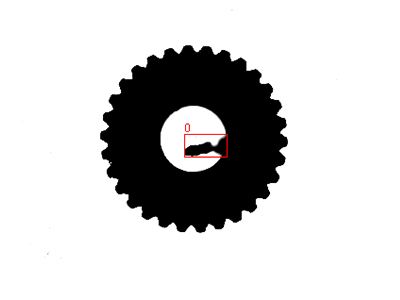 CCD2, vertical bottom view
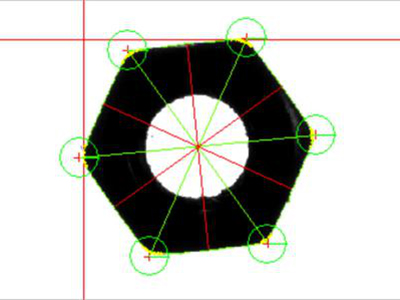 CCD3, vertical top view
 CCD4 45°tilt view
Customized service can be provided according to the detect demand.
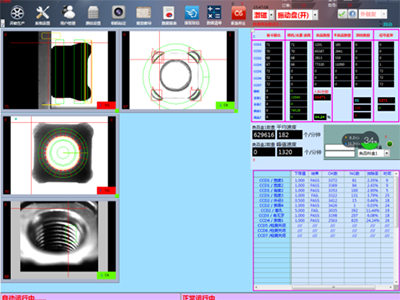
Utilizing the main interface of the inspection software, you can view various data including the inspection speed, conformity rate, total amount of raw material, the rates of exclusion for each inspection item, etc.
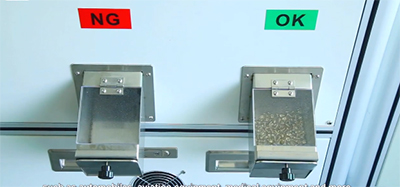
This machine has separate OK, NG, and inspection outlets.
The drawer-type inspection outlet is also found on the inspection platform.
The number and position of the outlet can be customized according to your requirements.
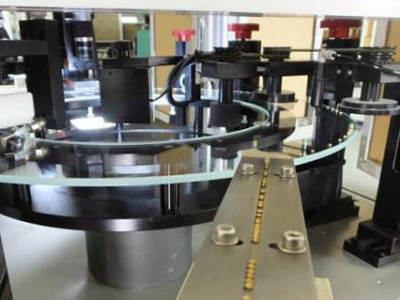
The machine can be equipped with a special track or general track according to your requirements to ensure the products are orderly distributed on the glass platform.
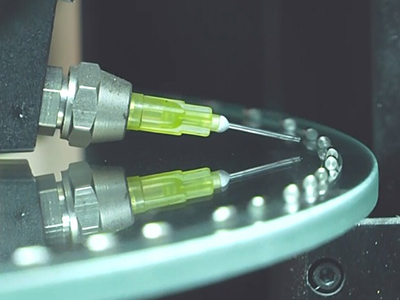
This machine features a solenoid operated blow-off function that is contactless and operates at high-speed and protects the products from damage.
The compressed air is processed by the dryer equipped with extremely fine micro filters.
Vision inspection systems powered by deep learning automate manufacturing operations by detecting defects, contaminants, functional issues, and other anomalies in products. These systems enhance the manual quality processes, improving overall business quality and reducing costs. Each test record is stored and used for self-learning, increasing detection accuracy over time through continuous improvement.
Most machine vision systems come with a software tool library designed to perform various types of inspections. These systems monitor the visual appearance of materials through statistical analysis, automatically identifying potential defects on the material surface. Defects are classified based on contrast, texture, and/or geometric shape similarity, ensuring high inspection accuracy.
Vision inspection systems can perform a wide range of tasks to ensure product quality and integrity. They verify the correct placement of labels, confirm the integrity of medical product packaging by ensuring drug bottles are fully sealed and secured with tamper-evident seals, and inspect finished products for defects such as surface scratches, bent secondary diode pins, and incomplete welds. These systems also count items, such as pills in blister packs, bottles in boxes, and components in kits, and check characteristics of finished assemblies, such as the inclusion of consumer safety inserts and the completion of assembly operations. The vision inspection systems are also capable of measuring microscopic dimensions, such as the gap on spark plugs, ensuring precise and accurate measurements for quality control.
Please fill the form and we will be in touch with you as soon as possible.
To ensure the quality of products, manufacturing companies utilize a wide range of inspection techniques. Here at Dongguan RKE Intelligent Technology Co. we specialize in the design and production of optical vision (non-contact) automatic inspection equipment, allowing users to perform more effective quality control over their products.